As a modern, environmentally friendly and energy-saving housing solution, modular detachable container houses have gradually become the favored choice of many people because of their advantages of fast construction, flexible design and low cost. The process of installing a modular integrated house, although easier and faster than traditional construction methods, still requires reasonable planning, precise construction and great attention to detail. This article will introduce the installation steps of a modular integrated house in detail, from design, prefabrication to on-site assembly, etc., to help you better understand the entire installation process.
1. Preparation: Planning and design
The installation process of a modular container house first requires a detailed design drawing. The preliminary preparation work is directly related to the quality and construction progress of the house.
(1) Site selection and foundation engineering
Before starting the installation, you first need to choose the right land and location. The construction of the foundation should be designed according to the type of structure of the house, which usually includes the following steps:
Land surveying: Determining the area, topography, and geology of the land.
Foundation design: Depending on the quality of the soil and the weight of the house, design a suitable foundation form, such as a concrete foundation, a free-standing foundation or a strip foundation.
Foundation construction: Foundation construction is the first step of installation, ensuring that the ground is flat and solid, and the foundation is built according to the design drawings.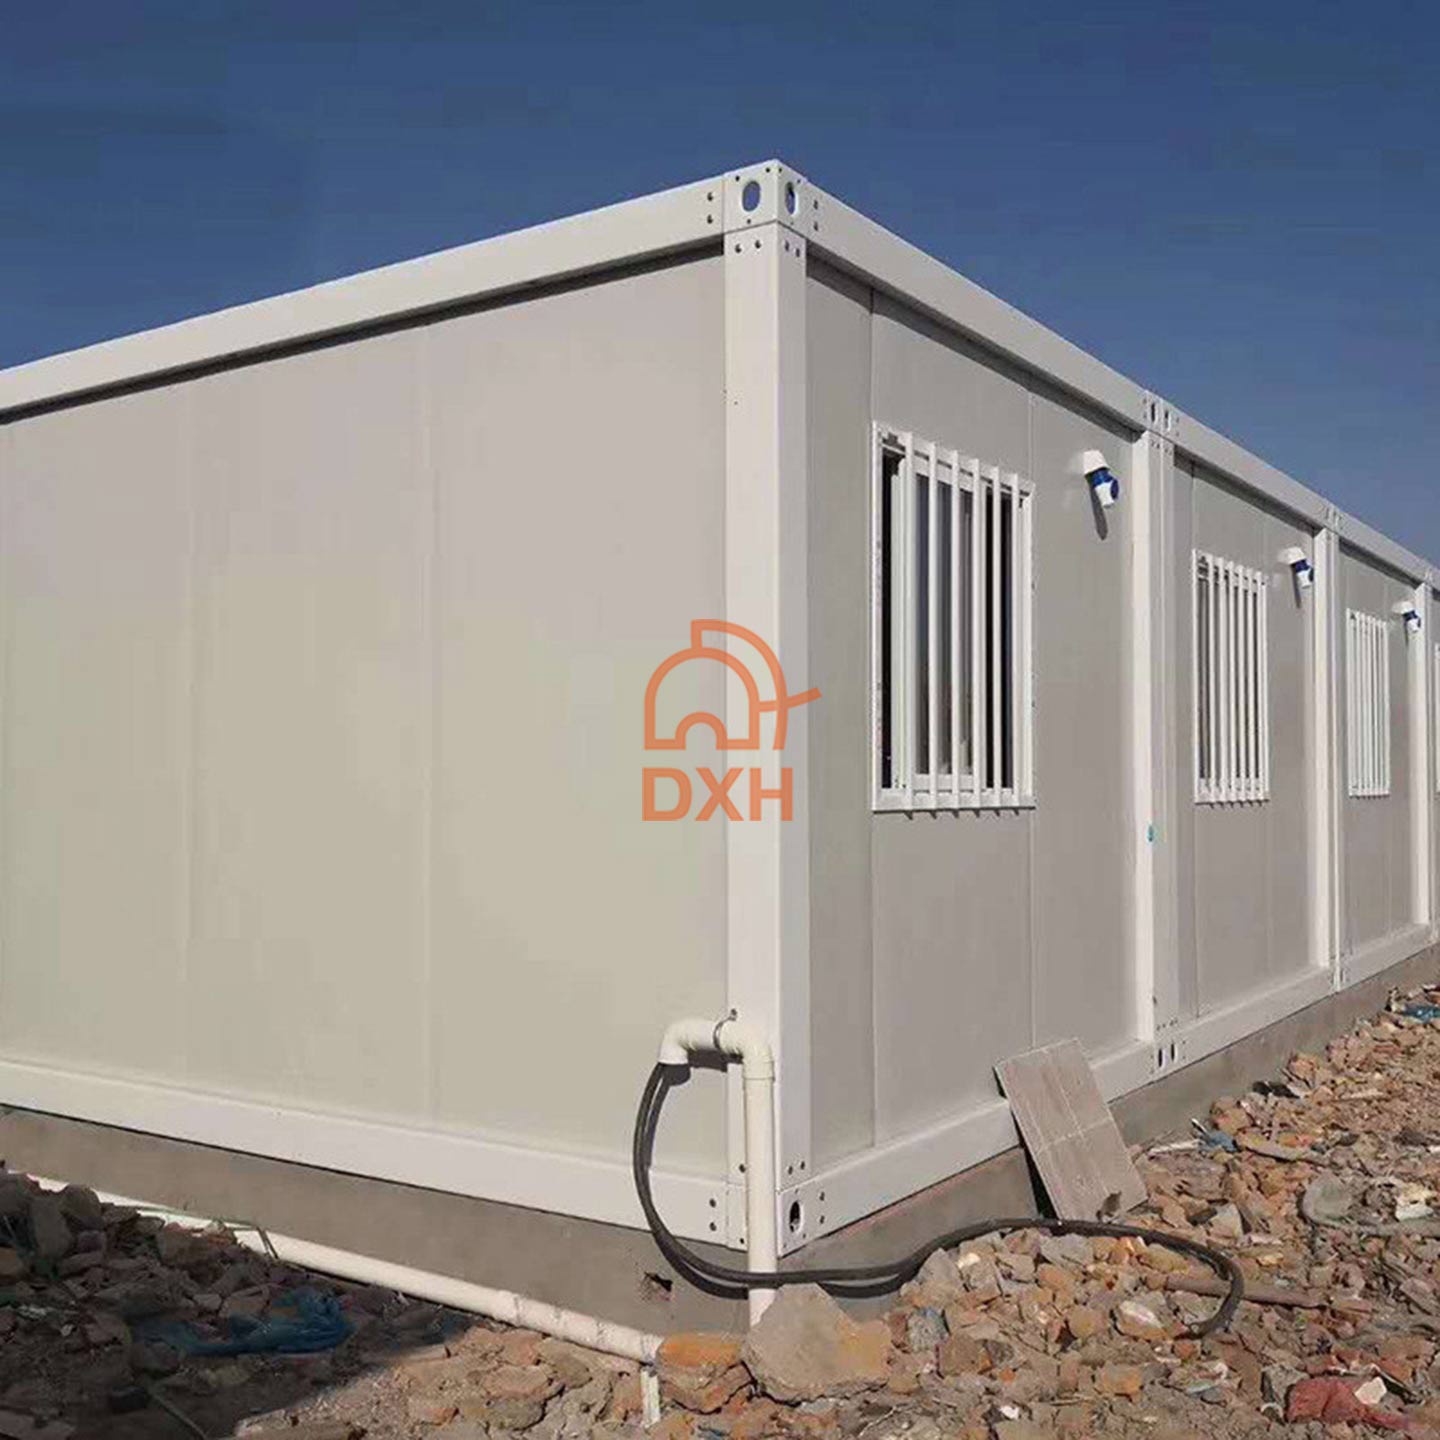
(2) Design drawings and bill of materials
During the design phase, the architect will provide detailed design drawings of the house according to the client's needs and geographical environment. These drawings should include the house's:
Design
Flat layout
The size and construction of each module
Construction details
Safety and protective measures
Once the design drawings are completed, the construction team will compile a detailed bill of materials based on the drawings to ensure that the required materials are ready before construction. Common materials for modular container houses include:
Light steel frame structure
Thermal insulation panels
Prefabricated walls and roof panels
Waterproofing and sealing materials
Windows, doors and related accessories
2. Prefabrication stage: production of modular components
The biggest feature of the modular integrated house is the modular design. At this stage, all components will be prefabricated and machined in the factory to ensure that the quality of each module is up to standard.
(1) Modular component production
The walls, roofs, floors and other components of the detachable container house are prefabricated in the factory, and only simple assembly is required on the construction site. Each module typically consists of the following sections:
Frame structure: constructed of light steel, aluminium alloy or wood, with high load-bearing capacity and wind resistance.
Wall panels: Composite insulation materials (such as polyurethane, EPS, rock wool, etc.) are used to provide excellent thermal insulation.
Roof panels: The roof is made of metal or composite materials to ensure waterproofing, thermal insulation and wind resistance.
Windows & Doors: Customized to design requirements, often using double glazing to improve heat retention and wind resistance.
(2) Quality inspection
All prefabricated components are subject to strict quality inspection to ensure that they meet design standards. Common quality checks include:
Strength and stability of the material
Accuracy of the connection part
Dimensions and tolerances of prefabricated components
Surface coating, tightness, etc
3. On-site installation: module assembly and construction
Once all the modular components are ready, the on-site installation phase begins. The installation process of modular integrated houses is relatively simple, and the construction period is usually short, but still requires precise construction steps.
(1) Foundation and foundation preparation
After the foundation works are completed, check whether the foundation meets the standards. Ensure that the flatness and bearing capacity of the foundation meet the design requirements, and avoid the problem of structural instability during installation.
Check if the foundation is flat: Use a level and a level to check the flatness of the foundation.
Clean the surface of the foundation: Remove debris and make sure the foundation is clean.
(2) Handling and assembling of modules
The modular design of the modular house allows for a high degree of flexibility and convenience in the installation of the house. After the modular components are delivered to the site by means of transport, the construction team assembles them precisely according to the drawings.
Module handling: Heavy modules are transported to the installation location using a crane or hoist.
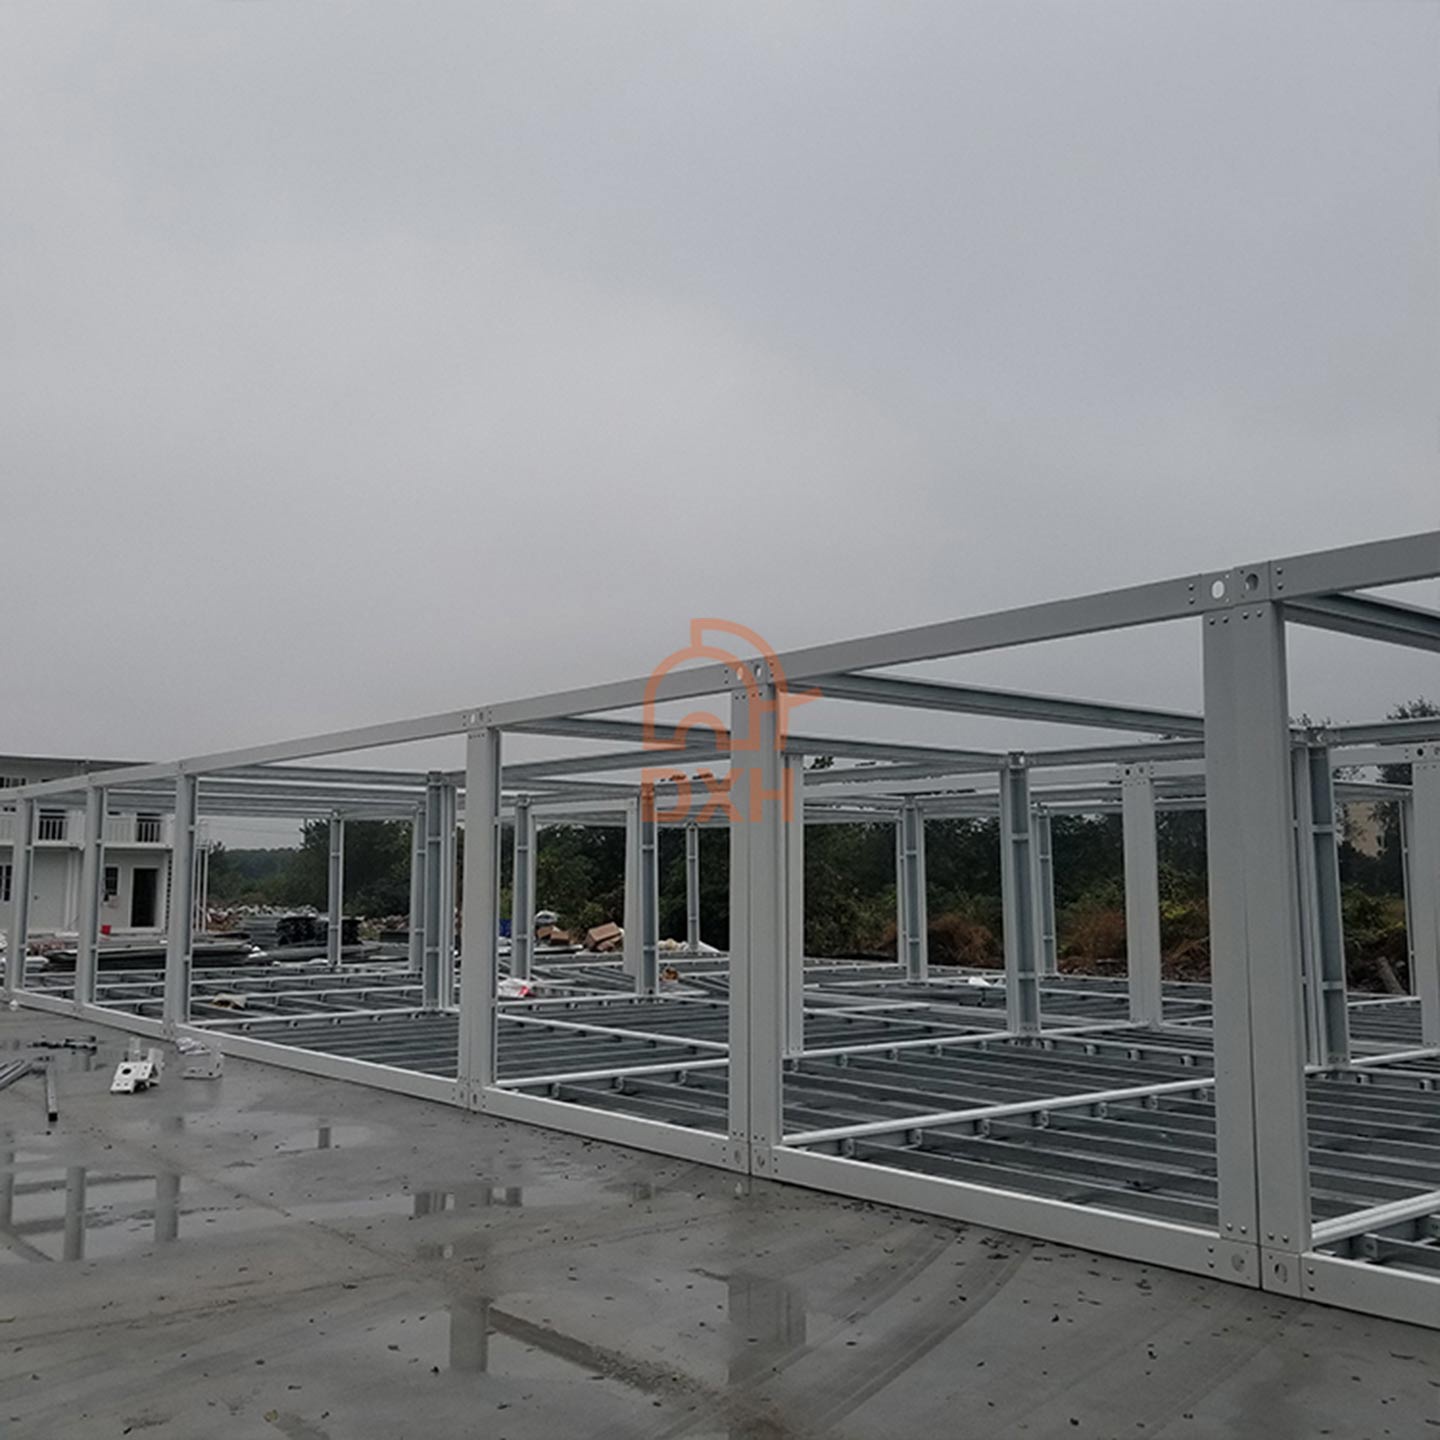
Module connection: The module is fixed by pre-designed connectors (e.g. bolts, welding, etc.). The connection between the modules should be tight and seamless to ensure overall stability, lay the bottom frame and square pipe (the bottom frame is welded with fixing grooves to fix the bottom square tube), use carriage screws to fix the bottom frame and corner head and measure the diagonal length of the bottom frame to ensure that it is installed in place.
Bottom square pipe installation: There are 4 square pipes of 80*80mm specifications and 5 square pipes of 40*80mm specifications at the bottom of the standard detachable container house, and the square pipes are arranged according to the 40*80mm and 80*80mm specifications from left to right.
Column installation: Place the four columns on the corner heads and fix them with carriage screws, and check them with a spirit level after they are fixed.
Top frame mounting: Take out the top 2 long beams and 2 short beams and fix them with carriage screws.
(3) Installation of wall panels and floors
When installing wall panels and floors, you first need to make sure that each module is in the right position, and then splice them together one after the other. Ensure the stability of the entire house.
Wall panel assembly: the wall panel needs to be kept 2-3 cm distance when fixed on the inside of the column, the installation wall panel that is interlocking from end to end in turn is fixed with screws at the connection of the wall panel, if the customer adds the wind resistance column, the wind resistance column needs to be installed before installing the wall panel, and the place where the wind resistance column is welded with iron sheets is fixed on the bottom and top beams with screws.
Floor installation: After completing the installation of the wall panel, lay the floor, place the floor on the bottom square tube, and fix the edge of the floor on the bottom square tube with screws. Use at least three screws on each side to secure it.
(4) Install doors, windows, roofs and accessories
After the wall panels and floors are installed, install windows, doors, roofs, external cable ducts, and other accessories. Special attention should be paid to the sealing of doors and windows to ensure the airtightness and watertightness of the house.
Door and window installation: Install prefabricated doors and windows according to the design size to ensure that the installation is firm and seamless, and use waterproof glue to seal the doors and windows around the door and window after installation.
Roof frame installation: after installing the doors and windows, prepare to install the roof, first install the pressure plate groove, find the pressure plate groove of the corresponding length, glue the sealing strip on the top of the longer two pressure plate grooves and buckle it on the wall plate with screws to fix the contact surface of the pressure plate groove and the wall plate, and then find the 50 * 50 support square pipe welded with the card groove and place it on the pressure plate groove, the top square pipe is laid according to the middle three 40 * 80mm square pipes, and three 40 * 60mm square pipes are placed on the left and right sides and fixed with screws.
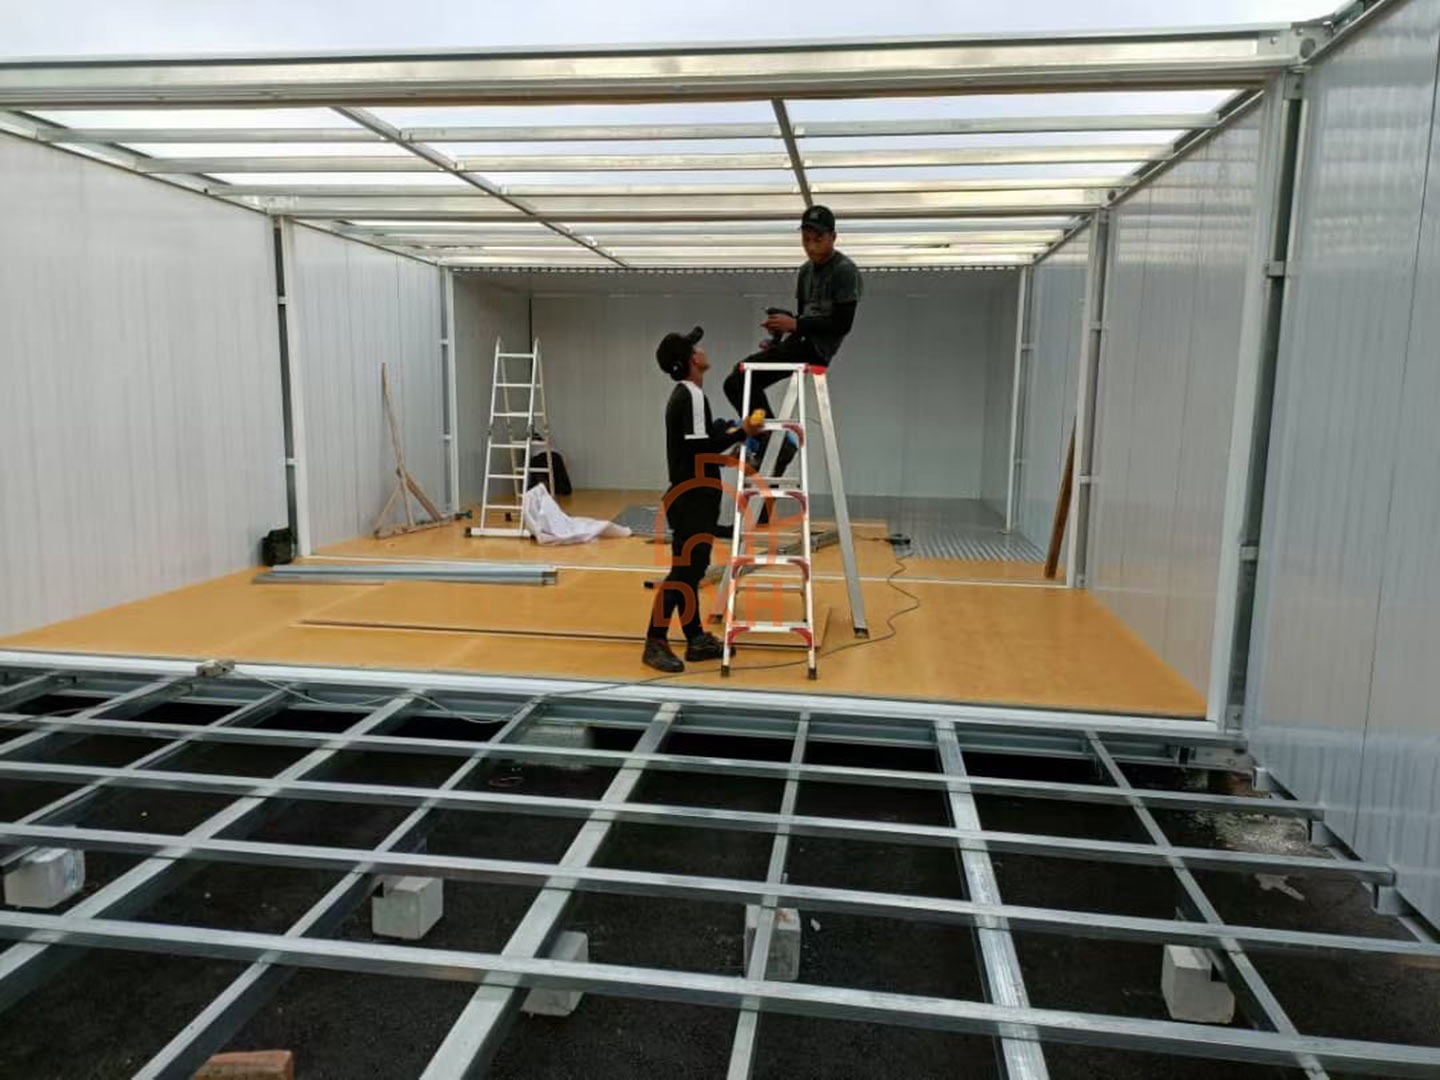
Internal ceiling installation: find 6 internal ceiling tiles and fix them on the top square tube with screws in turn, and the connection of the two tiles needs to be kept overlapped and fixed with screws.
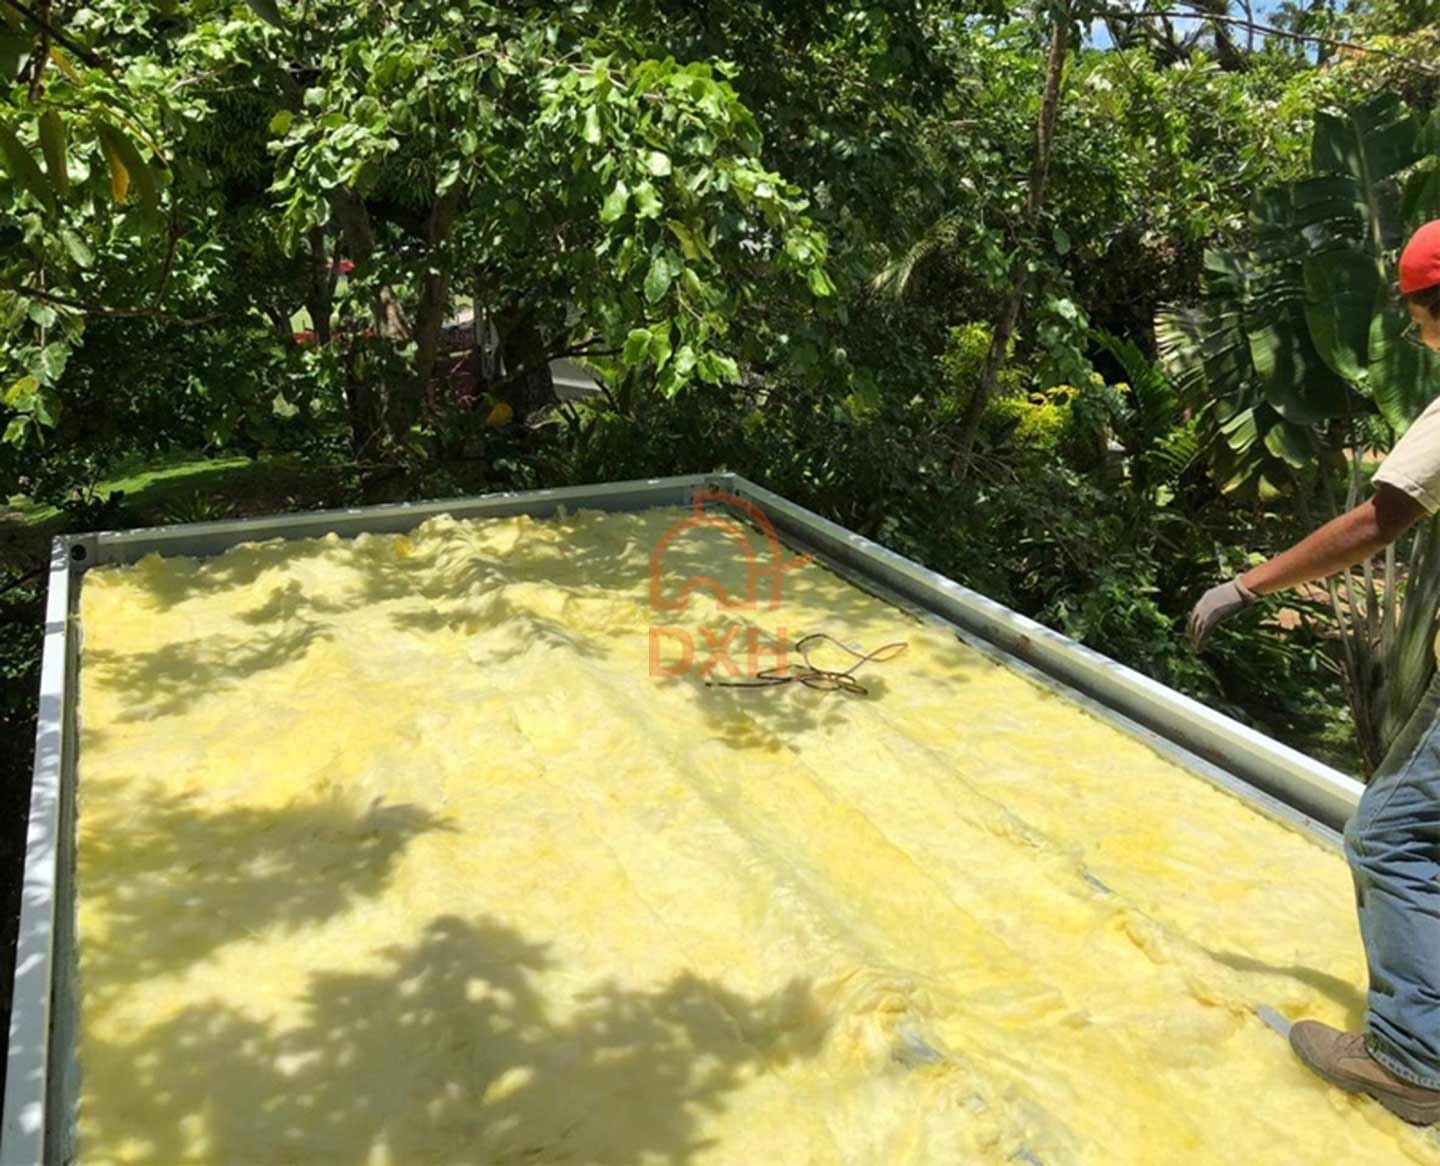
Insulation of the roof and installation of roof tiles: find glass wool evenly spread on the top frame, and then install roof tiles, and the installation of roof tiles refers to the ceiling in the house. After installation, apply sealant to the large screws to make a waterproof treatment, and at the same time squeeze the roof tiles on the edge downwards, which is conducive to the drainage of rainwater(Roof tiles install need to stand on top of the frame and square tubes).
Installation of fittings: Install the moldings inside, place the moldings around the ceiling and the four corners and fix them with screws, and seal the floors around the floor with sealant. The gaps in the bottom beams and wall panels on the exterior of the house also need to be filled with sealant.
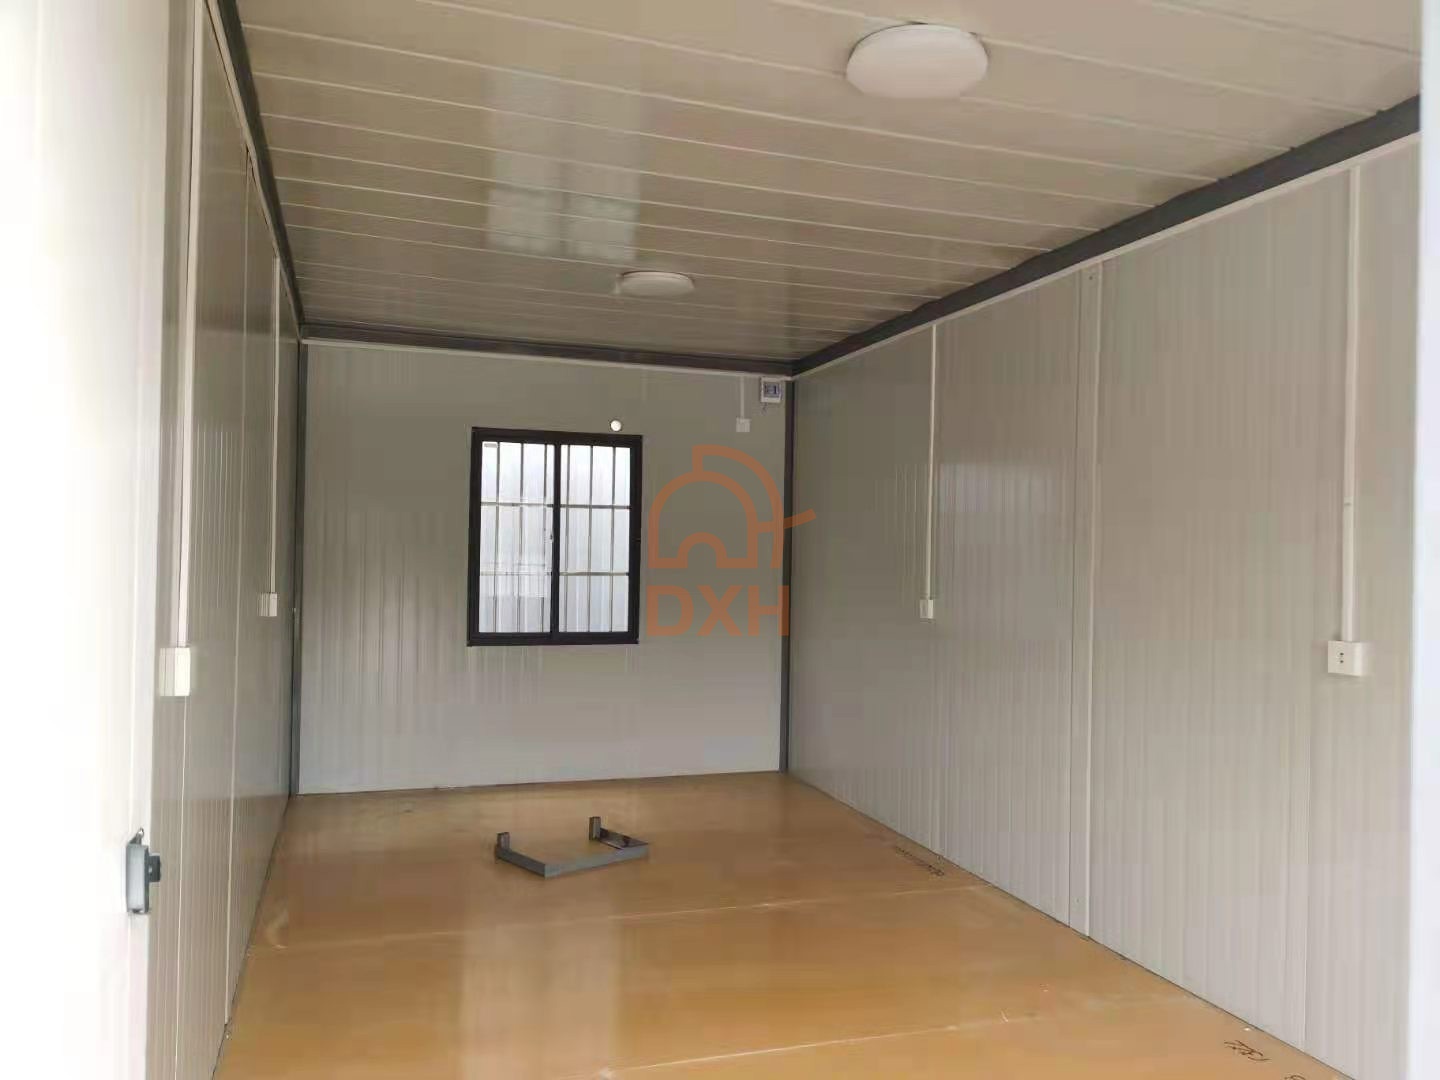
4. Interior decoration and installation of functional equipment
After the exterior structure of the house is completed, it enters the interior decoration stage. This stage includes:
Wall and floor decoration: laying floors, painting walls, installing interior wall panels, etc.
Electrical Line Installation: Install wires, cables, and switch panels.
Water pipes, HVAC systems: installation of hot and cold water pipes, heating and air conditioning, etc.
All interior decoration should be carried out according to the design requirements to ensure that it is fully functional and meets the needs of the residence.
5. Post-inspection and delivery
After the installation of the assembled prefabricated house is completed, a comprehensive inspection and commissioning are required to ensure the normal operation of all functional equipment.
Quality inspection: check the overall structure of the house, the tightness of doors and windows, power supply and water supply, HVAC system, etc.
Safety acceptance: The professional acceptance personnel will inspect the safety performance of the house such as wind resistance and earthquake resistance.
Once the acceptance is passed, the house can be delivered.
Standard detachable container house installation video
Our hours
Monday to Sunday: 9 AM - 6 PM
(all hours are Eastern Time)